I won't be posting tutorials and sewing hints every week, but during this time right before Christmas I needed to stop and take care of some personal sewing. First came the shortening of some new pants. That's what happens when a person's legs are too long for petites, but too short for regular length.
The second new project was born of desperation and has turned into the pattern in this post. Every single one of my old oven mitts is fit only for the trash, and I have no choice but to replace them.
I am not about to spend good money on oven mitts when I have several drawers filled with fabric scraps. Did you know that some of those mitts cost over $100 each? What on earth are they made of? Not for me. In fact, I won't spend any money at all this time because I'm making my own oven mitts from materials I already have on hand.
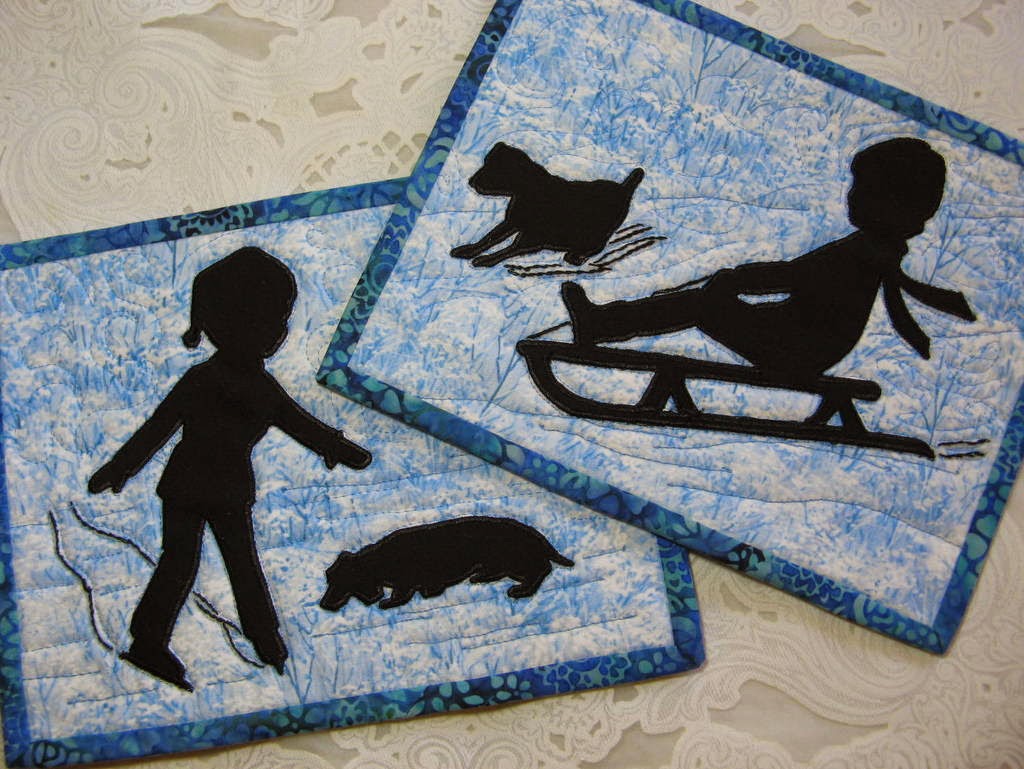
Handmade oven mitts are not only a thrifty way to use scraps, but they can be great Christmas stocking replacements and cute, practical gift bags. Fill the mitt with the makings of something yummy or with other little goodies, slap on a bow, and watch the smiles grow. For several years I held December cookie exchange parties for my sewing group friends. One year I made oven mitts from holiday fabrics for every one of those friends. Then I hung the mitts across the fireplace mantle like stockings. They looked so pretty hanging there all in a row. The best part was that they were truly appreciated.
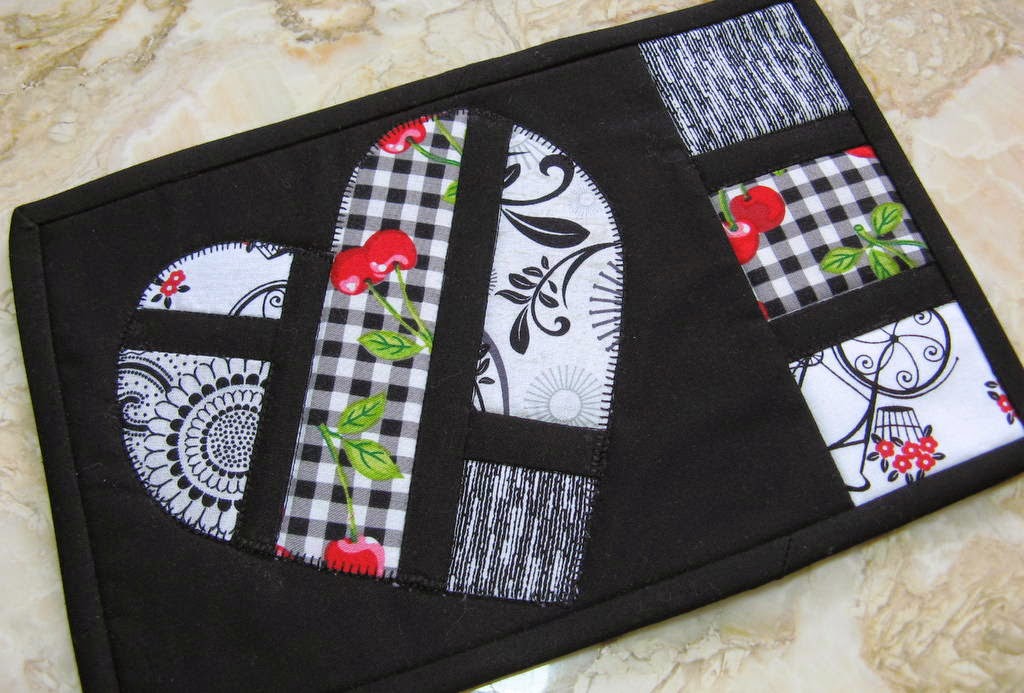
The mug rugs for the cookie exchange party were made from solid pieces of a single fabric. If I were in a hurry this year, I'd make my new ones in the same way. This time, though I was playing with an idea for quilt-as-you-go mitts so I could use up a few of those narrower fabric scraps taking up drawer space. I settled on a French braid design. It's actually a variation of a log cabin pattern. I'm very pleased with it, and it's super easy. That's a must for something that will be used to death in a year.
The Cutting Template
First things first - the pattern for the mitt, itself. You could buy a pattern, or you could use the pattern that comes with each package of Insul-Brite. If you do use the Insul-Brite pattern, be sure to add at least at least 1/2" beyond the marked stitching line for seam allowance. That pattern has terribly narrow seams that simply won't work when you are sewing through so many layers.
I much prefer drawing my own pattern to using something else. For one thing, I have rather short fingers, so many of the oven mitts found in stores are too large for me. If you have an old oven mitt that's a good fit, your pattern practically makes itself.
This is how I drew the template this time.
I first taped two pieces of cardstock together to make a sheet large enough for the outline of the mitt. Plain paper would also work, but I wanted something I could cut out and draw around easily and something that I could keep in a file for a long time.
Then I traced around an old mitt that is a really good fit. I added 1/2" around the tracing to make a seam allowance and I drew the cutting line. As I sketched, I smoothed out those funny edges that old mitts acquire.
I cut the pattern out and traced around it on tissue paper. The tissue paper is so much easier to pin onto my quilted layers than anything else. It also has the advantage of being transparent which is important for this pattern. I made sure to mark the innermost point of the "v" where the thumb of the pattern meets the fingers section. If it isn't marked it's hard to know exactly how deep the stitching of that "v" should be.
Now that the pattern was ready, I could focus on making the quilted pieces.
Materials and cutting
Materials for each oven mitt:
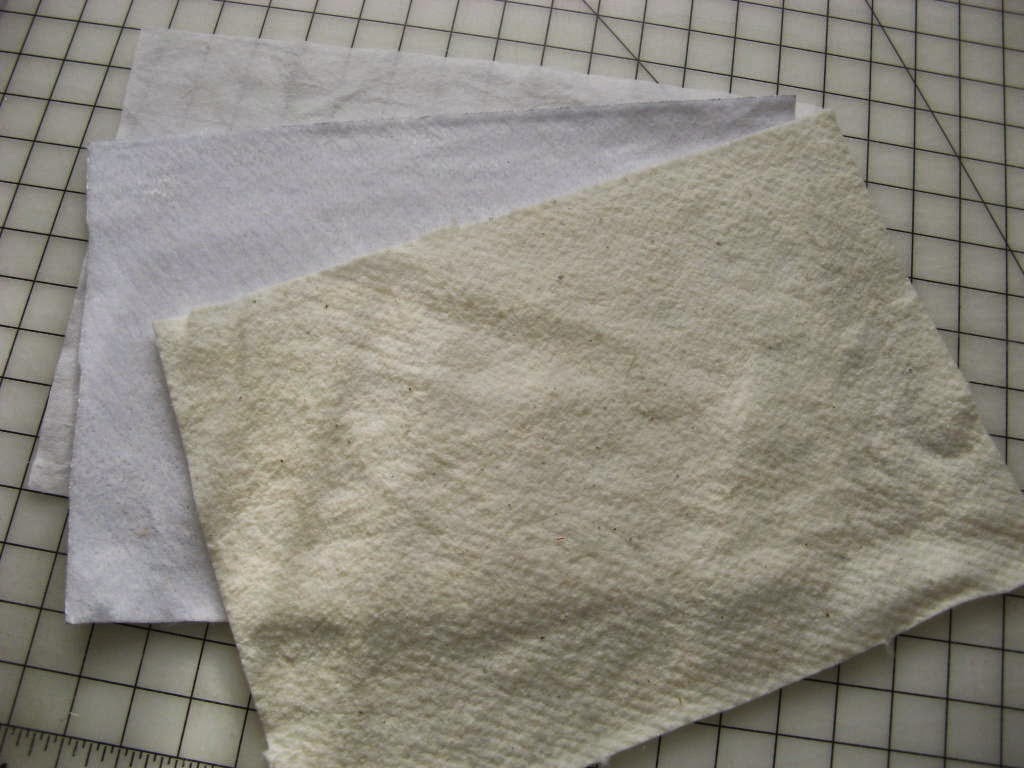
* Insul-Bright - 2 pieces 9 1/2" x 14"
Cotton batting such as Warm and Natural - 2 pieces 9 1/2" x 14"
Backing fabric - 2 pieces 9 1/2" x 14" (I used thin muslin.)
From mixed scraps
- one 7 1/2" square
- one 8" square
- one 9" square
- sixteen strips, 1 1/2" x 7 1/2"
- one strip, 1 1/2" x 6 1/2" for the loop
- one strip, 1 3/4" x 15" - 16" for the binding
(The length of this strip may vary depending on the measurement around the top of the oven mitt. If you prefer, you could use double fold bias tape to finish the top of the mitt.)
*Note: Two layers of cotton batting can be used instead of a single layer of batting and a layer of Insul-Bright. This is the way I used to make all of my oven mitts. They are fine for most purposes, but the Insul-Bright does add extra insulation from heat.
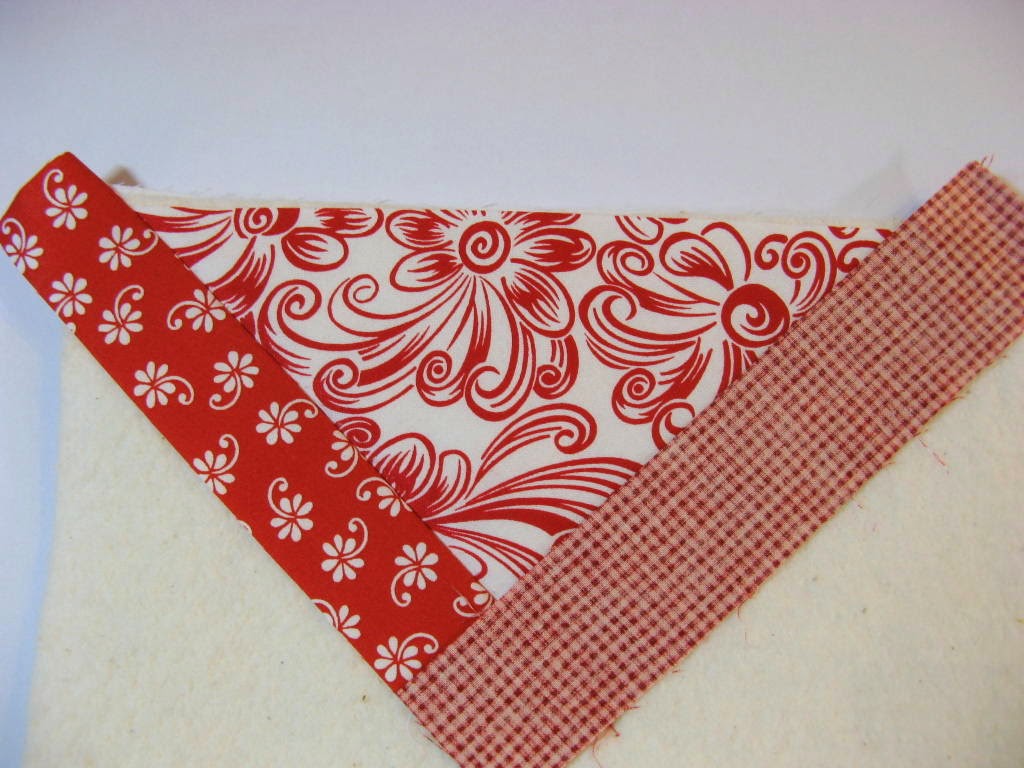
Stack the backing,
Insul-Bright, and batting in that order to make two quilt sandwiches, one for either side of the oven mitt.
The
Insul-Bright is slippery, so I used just a light spritz of quilt basting spray to help keep things in place while sewing.
Cut out the fabrics. Cut each of the three squares in half diagonally to make half square triangles.
Make the quilt as you go quilt sandwich for the oven mitt.
1. Lay the widest side of a triangle cut from the 7 1/2" square right side up at the center top of the batting of the one of the two layered quilt sandwiches.
2. Lay one of the 1 1/2" x 7 1/2" right sides together against either short side of the triangle. Line the edge of the strip up with the square angle of the triangle. Stitch along the length of the strip with a 1/4" seam
3. Fold the strip out and press. Lay another strip along the other side of the triangle right sides together. Again, line the end of the strip up with the corner of the triangle. Stitch, fold, and press as before.
4.
5. Continue in this manner, alternating sides and stitching strips until there are four strips on either side of the quilt sandwich to complete the French braid effect.
6. Lay a short leg of a triangle from the 8" square as if it were another strip. Align the right angle of the triangle with the right angles created by the alternating strips. Stitch along this edge with a 1/4" seam.
 |
| My seams must not all have been exactly 1/4" because the strips were getting a little out of alignment. I made a minor adjustment with the triangle to line everything up again. |
7. Press this triangle out.
8. A triangle from the 9" square is sewn on last. Lay the bias edge of the triangle over the last strip and sew with a 1/4"seam.
9. Press this triangle out.
10. The quilt sandwich for one side of the oven mitt is finished. Make the sandwich for the other side of the mitt in exactly the same way.
Construction of the mitts
1. Use your oven mitt pattern to cut one side of the mug rug from one of the quilt sandwiches. Flip the pattern over and cut the other side of the oven mitt from the second quilt sandwich.
2. Mark the dot for the "v" on the lining of both pieces of the oven mitt.
3. Place the two sections right sides together and pin from the outer wrist to the center of the finger section. Stitch around this portion of the mitt only. Sew with a 3/8" seam allowance.
 |
| Half an inch seam allowance was added to the pattern, but you should sew with a slightly smaller seam allowance. When turned right side out some of that 1/2" seam allowance you drew on your template will be taken up by the sheer thickness of the layers of fabric, batting, and insulation. |
4. Trim close to the seam from the top of the wrist to about 1" down. Reinforce that seam with a machine zigzag stitch. Here I go using my good old blanket stitch again. I do like the clean edge created by this stitch.
5. Make the binding for the the top of the oven mitt. Fold the oven mitt open and measure the top. Measure the top of the wrist. Cut the 1 3/4" wide strip about 1/2" longer than that measurement.
Note: If you are going to use ready made seam binding, cut it about 1/2" longer than the distance across the top of the wrist and sew it in place.
6. Press one edge of the binding strip over 1/4".
7. Pin the right side of the raw edge of this strip to the wrong side of top of the oven mitt.
 |
| The right side of the binding is facing the wrong side of the oven mitt. |
8. Sew with a 1/4" seam. Fold the binding over the front of the oven mitt and attach it to the right side of the mitt with a top stitch close to the edge of the binding.
9. Make the loop for hanging the oven mitt from the 1 1/2" x 6 1/2" strip of fabric.
Top stitch close to the edge of the fold.
9. Fold the loop in half. Place it about an inch down from the wrist opening on the right side of one section of the thumb side of the mitt. Make sure the loop points up at an angle. Pin it in place and stay stitch it very close to the side edge of the raw seam.
10. Pin the two halves of the oven mitt together, taking care that all edges are lined up. Sew the rest of the way around the mitt. Reinforce the "v" with one or two extra rows of stitching.
11. Trim the entire seam close to the stitching. Machine zigzag stitch over the seam.
12. With a sharp scissors, snip almost to the point of the "v". You will be cutting through some of the zig zag stitches, but be careful not to cut through the straight reinforced stitching.
13. Turn the mitt right side out, press smooth, and you are finished!
Wishing you a super week!