Sunday, July 31, 2016

A Week Saved by an Email

I keep waiting for this summer to end. I would love to keep the sunshine and warmth, but if leaving summer means leaving the craziness behind, I'm all for calling up autumn.

Progress is slow, but there finally is progress on the work being done in my yard and on my house. Rain has interfered with putting up the siding, and that has, in turn, delayed planting a new flower bed.


We don't need workers carrying siding up and down ladders in the middle of new plantings. So, siding and a dumpster sit in my driveway waiting for sunny weather.


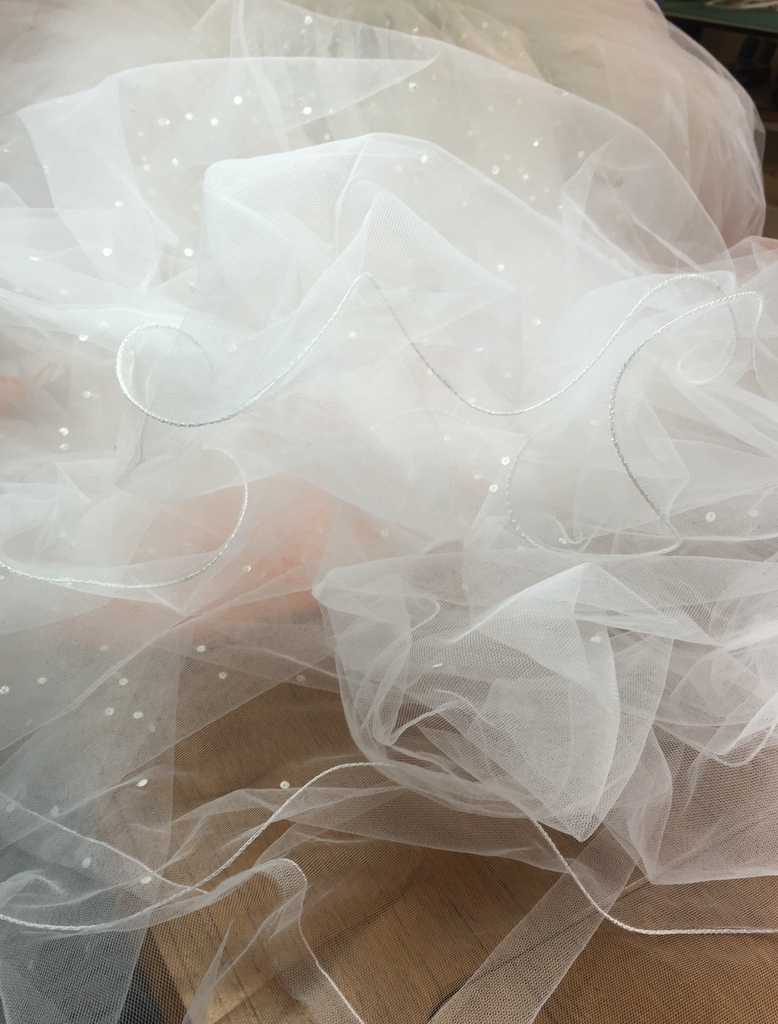
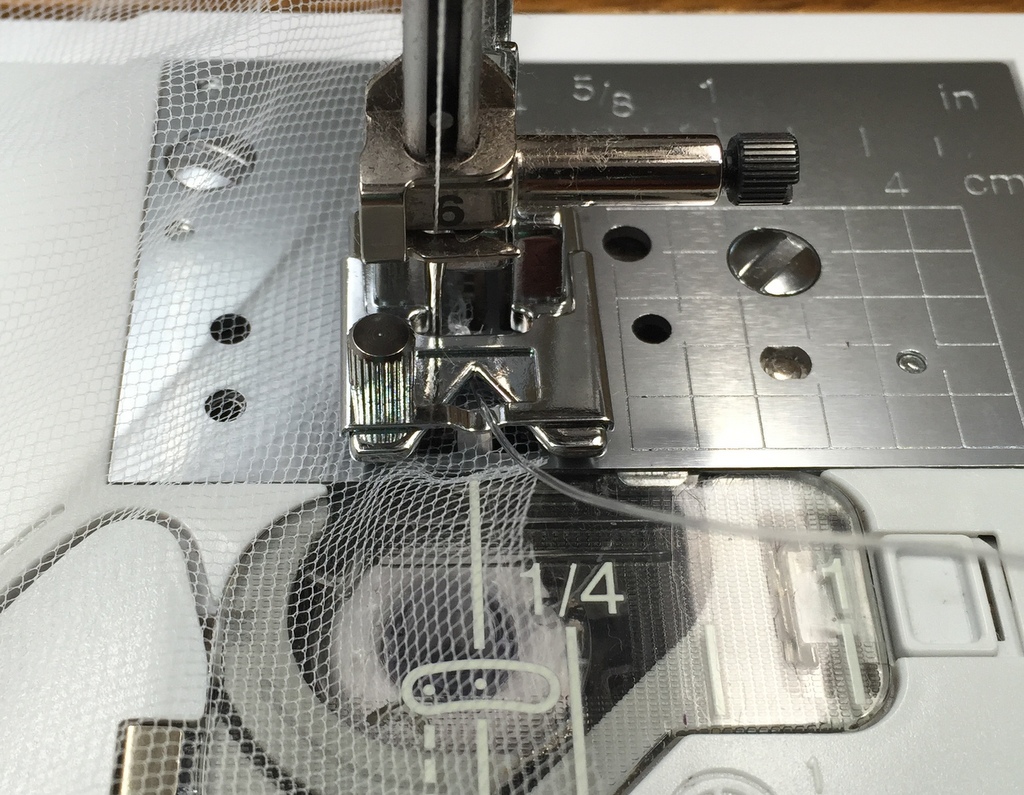
In the middle of all of this I came down with an intestinal virus. It's been years since I had this kind of flu, and I'd forgotten how it can really knock the wind out a body. My new mug rug isn't making much faster progress than anything else.


It's always surprising, but when you are feeling stressed, a kind word out of the blue often comes along and gives your spirit a boost. I received this email from a customer a few days ago. It couldn't have come at a better time. 

"Good evening, Ms. klee2strings:

"I wanted to let you know that I purchased a few of your patterns a few weeks ago, and I was able to make one of the items today (rooster from Sun's Up). Your directions were very  easy to follow - I am a beginner and I had no problems. I decided to turn the mug rug into a placemat with a pocket, see attached photo, and it worked out great. I now know to make the pocket longer next time, things you learn along the way (by making mistakes). Anyway, I wanted to thank you for continuing to teach in your years of retirement - it is evident that you were a teacher, as your directions are clear and your handwriting is neat!  I look forward to making the hen and the other patterns I purchased from you  (Calico Cats, Stitching Stuff, and Tooth Fairy Mug). My mother-in-law is an avid quilter so I am looking forward to making the Stitching Stuff mug rug for her.

"Again, thank you for being a teacher (then and now) and making beautiful projects."


Though I do love quilting, when it comes to professions, teaching has always been my first love. It was wonderful to have this assurance that after nine years of retirement, I can still help people learn. Kind words can make a world of difference.

I hope to finish the newest mug rug next week. Fingers crossed!

Happy August, everyone!


Monday, July 25, 2016

Ambushed by Tricky Autumn Batiks


Some designs are intentionally planned for a specific purpose, some suddenly appear out of nowhere, and still others are inspired by pure chance.

I was looking for the perfect little piece of green fabric to use in a new mug rug design. The "just right" piece wasn't with my regular green prints, so I went to my drawer of batiks. I hadn't looked at that group in several weeks, and I was suddenly immersed in the lush colors of autumn.  Golds, oranges, browns, plus multiple greens and deep reds screamed "autumn leaves". The fabrics begged to be stitched into something lovely for fall. Ideas swirled around my head in a visual autumn dance.

Ambushed and trapped by own own fabric stash!


The mug rug was forgotten as I plunged into a project for autumn. That was about three weeks ago. I took my time with this one. I love the single block and it's versatility, so I fiddled with placement and changed my mind several times. When it was finished I had two projects rather than just one. One table runner and one square table topper are finished and ready for fall.


I love these batiks!

I made two completely different designs by rearranging the placement of the blocks, but I can envision full lap quilts and bed quilts, too.

The complete block, 8" x 8".
Square Table Topper.
Table Runner
Now, I'll get back to that mug rug! 


Wishing you a super last week of July!

Sunday, July 10, 2016

Christmas in July


It's July, and it may be hot and humid in Nebraska, but it really is time to start thinking about Christmas projects. I had planned to have new patterns ready by now, but life got in the way. Funny how that happens.

So, instead of showing you brand new ideas, I've placed some my favorite holiday patterns and tutorials in this blog post so they can be more quickly located. I've tried to pick patterns in a variety of styles, sizes, and color schemes. Links are included.

Most of the patterns here can also be located under the label "Christmas" on the right hand side of this page.

For other ideas, feel free to visit my pattern page on Craftsy. http://www.craftsy.com/my/pattern-store

I wish you a wonderful second half of summer! 

Patterns Available for Purchase on Craftsy

Candlelight: wall hanging or table topper

 http://www.craftsy.com/pattern/quilting/home-decor/candlelight-table-runner--bonus-mug-rug/1686
 Snow
Snow Family: wall hanging or table topper
 http://www.craftsy.com/pattern/quilting/home-decor/snow-family-holiday-wall-hanging/113625

Ice Skates: wall hanging or table topper
 http://www.craftsy.com/pattern/quilting/home-decor/ice-skates-table-topper-or-mug-rug/154260

Holiday Toys, Soft Christmas Ornaments
http://www.craftsy.com/pattern/sewing/home-decor/holiday-toys-soft-christmas-ornaments/164087


Holiday Tabletop Trio: wall hanging or table topper
http://www.craftsy.com/pattern/quilting/home-decor/holiday-tabletop-trio/123210

 Christmas Houses: wall hanging or table topper
 http://www.craftsy.com/pattern/quilting/home-decor/christmas-houses-table-runner/60384


Let's Rock: mug rugs
 http://www.craftsy.com/pattern/quilting/home-decor/lets-rock-mug-rug-trio/165562


Wrapped and Ready: mug rug
 http://www.craftsy.com/pattern/quilting/home-decor/wrapped-and-ready-mug-rug/120846

Ready for Takeoff: mug rug
 http://www.craftsy.com/pattern/quilting/home-decor/ready-for-takeoff-christmas-mug-rug/66372

Holiday Rag Doll: mug rug
 http://www.craftsy.com/pattern/quilting/home-decor/holiday-rag-doll-mug-rug/57913

Winter Romance: mug rug
 http://www.craftsy.com/pattern/quilting/home-decor/winter-romance-mug-rug/64236


Tutorials on my blog:

Holiday Gift Bags
http://klee2strings.blogspot.com/search?q=Taking+Care+of+Essentials+with+French+Braid+Oven+Mitts

French Braid Oven Mitts
 http://klee2strings.blogspot.com/search?q=Taking+Care+of+Essentials+with+French+Braid+Oven+Mitts

Home for Christmas: lap quilt
http://klee2strings.blogspot.com/search?q=home+for+christmas

New Toys, Part 2: constructing the styrofoam wreath used with "Holiday Toys"
http://klee2strings.blogspot.com/2015/09/new-toys-part-2-constructing-styrofoam.html


Tuesday, July 5, 2016

Beach Babies


Summer has descended upon us with full force. July 4th was a beautiful day for our holiday, but on July 5th, Mother Nature succumbed to one of nasty hot flashes. Temperature and humidity have combined to give us heat indexes of well over 100 degrees for the next few days. 

It's perfect timing for the Beach Babies. They are two sweet, little children playing on a sunny, beach in summertime. Starfish crawl across their shadows and sailboats drift by on ocean waves. Some folks would like a little girl best, and some prefer a boy. That's why I've made them as two separate mini-quilts.


Creating these little quilts has helped me to hang onto my sanity over the past few weeks. Too much is happening in my life right now. The babies have been my escape from the real world and from all of the house repairs and the family health issues that I'm dealing with at the moment.

I have a son and a daughter plus a grandson and a granddaughter. Sometimes I really miss the days when little ones crawled onto my lap for hugs and stories. Soft arms, sweet kisses, smiles that touched my heart. As I've sketched and sewn the beach babies I've been able to revisit those wonderful years with my own little ones. I recognize all four of my babies in these two made of fabric and thread. The toddlers on the beach have truly been a work of love. The timing of this idea was perfect. Nothing could have been a better stress reliever.

These are answers to a few of the questions I've had about the Beach Babies.

Q. Where do you get the fabric for their skin?
A. There are so many wonderful colors of skin, and sometimes the perfect fabric is available.  I couldn't find anything in my local quilt shops that came close to matching my own children's skin, so I had to create the color.
I started with a peach colored fabric in a Kona cotton solid, then used tea to darken it to the color I wanted. A complete explanation can be found on my Christmas Elf post. http://klee2strings.blogspot.com/2014/11/a-christmas-elf-and-trick-or-two.html

Q. What fabric did you use for the sea?
A. The fabric was Radiant Gradient Ombre Denim by Hoffman Fabrics. I bought it online from Hancock's of Paducah. There's quite a bit left over and I'm sure you'll be seeing it again in future projects.

This is a very strange angle, but a strip of the whole width of the fabric is visible.


Q. How did you make the free motion quilting for the sea and sand look realistic. 
A. This was most definitely free motion quilting with free form. The sea is nothing but row after row of horizontal, wavy lines. The sand is made with a wide, short meander. I continued the meander right over the children's shadows to differentiate them from piles of sand. I'm really not terribly skilled with FMQ, so nothing is perfect close up. The effect is nice, anyway - especially from a distance.


This project is over, and now I need to figure out what comes next. If you have a request, please let me know.


Sunday, June 26, 2016

The Bride Wore Tennis Shoes

Yesterday, my granddaughter was married to her best friend. They met during their freshman year of high school, but never actually dated until a year ago. Then, suddenly the friendship evolved into something else, and they couldn't wait to be married. So young, yet so very sure.


It was exactly the kind of wedding they wanted - simple, casual, very homegrown, and absolutely lovely. The venue was a hall at the county fairground nearest my daughter. The kids did their own decorating, and even made the mints they served.

Everything went smoothly from start to finish, though there's always a story.


When photographs are taken outdoors at a county fairground, interesting critters can get into the act. In this case they got into the multitude of skirt layers. Sara came back into the hall and her skirt was filled with lots of little bugs. Bridesmaids, mother-of-the-bride, grandmother of the bride, and several others went through those layers to shake out the bugs. Then Sara did a big fast twirl and emptied the skirt of the last of them.


Wishing them a blessed future. 
 

Sunday, June 19, 2016

Building Babies

The wedding dress is finished and waiting in it's garment bag for the big day. I still have a hard time believing that my sweet granddaughter is getting married. I will definitely post photos!


With the dress finished, I've been concentrating on beach babies. One of the fabrics I ordered for the ocean has arrived. It looks much prettier in real life than in the photos, so I'm not sure if I'll keep looking or just go ahead and finish.


Since I'm doing these over, I've reversed the little girl that I made first. I want the two children to be facing in opposite directions, and I didn't like the way the boy looked facing left. She's a wee bit more tanned than she was in the original, too. Better before or better now? Something else for me to think about. That background fabric changes things so much.

I thought I'd show you how I built the babies.


Each of them started as a sketch, and each went through a long process of trial and error before I was satisfied that they would work well in the final design.

I spent three days sketching, refining, and re-sketching to make this one satisfactory.

I photocopied the final sketch onto cardstock and cut the templates from there. I flipped the templates over before I traced them onto the fusible web.
 
Next, I used my transparent applique pressing sheet to fuse the pieces for each child together. The layout goes under the sheet, and layer by layer the fabric pieces are fused to each other on top of the sheet.
 
Now, I can move the children anywhere and experiment with placement. I'll likely make the patterns as two separate blocks, but they would also be really cute together in one wall hanging. I'll think that through a bit more before deciding.

If I keep this background fabric, the pattern may be ready next week, but with wedding preparations moving into high gear, my guess is that this will come out the last week in June or the first week of July.


Saturday, June 11, 2016

Of Wedding Gowns and Fishing Line

Two weeks of experimentation and it's down to one more quick fitting. Then, I can finish up the task of shortening my granddaughter's wedding dress. I want to double check the length of the top two layers of tulle before I continue with my newly purchased spool of fishing line.


I kid you not. I'm using fishing line for the wedding gown. Here's the story.


My granddaughter fell in love with the beautiful wavy look of the hems of the top two layers of tulle on her wedding dress. I had to cut off a good 4 inches from the bottom, and I had no idea how to recreate the curly waves. There was something stiff, like wire, set into the tulle. I was stumped, so I experimented with other finishes.


Ribbon had no stretch, so it couldn't handle the curve going around the train. A zigzag stitch with thin thread finished the hem, but it wasn't at all wonderful. Heavier rayon thread in a zigzag stitch was a tiny bit better, but nothing came near to the loveliness of the original.

Now what? I was determined to make this right. I trimmed a couple of inches off the hem of the tulle and examined the stiff stuff set into the bottom edge. It wasn't wire, but a stiff nylon cord. How had that been attached? If only I'd remember my mother's sewing lessons from 50 years ago, I'd have been just fine, but I was trying too hard and not thinking clearly.


Then I ran across a Craftsy post on Facebook. This couldn't have come at a better time! It was as if this post was meant just for me when I needed it most.  If you've never downloaded this free class, you definitely should! One of the lessons reminded me of those lessons from Mom and sent me chasing over to the Baby Lock store.


I only needed a braiding foot for my sewing machine and some nylon cord!

Next stop, Michaels jewelry making aisle.


This is the heaviest weight they carry. It was only a fraction of the thickness of the original. I experimented with it, but it was much too fine to lift and hold the weight of the skirt.

Ebay? I typed in monofilament cord and soon found myself looking at fishing cord! That's how I discovered what I needed.


It was off to the local tackle and bait shop. They carried the 50 lb. weight I needed in bright green, only, but the 40 lb. was almost perfect.

Original cord on top, 40 lb. fishing line in the middle, jewelry making cord on the bottom.


Beautiful!

I showed the sample to my granddaughter. She was so excited. "Mama, how did you do that? It's perfect!"

"I'm just the magic grandmother," I told her.

As I said, one final, really quick fitting and this task will be done.

 Bibbity, bobbity, boo!


Giggle!