Saturday, January 10, 2015

A New Quilt Along for Spring of 2015

I enjoyed last year's quilt along so much that I've embarked on a another similar, but much shorter journey. Last year's project was huge! I know some of you were exhausted with trying to keep up.

Others were moving so fast that I couldn't keep up with you. Glenda, for instance, finished up her blocks within hours of the patterns coming out! She was one of those whose enthusiasm was just enormously contagious. The quilters who participated, who sent emails, made comments on my facebook page, and shared photos, were the driving force that pushed me along and kept me from losing momentum even when I was facing other challenges. Thank you all for helping me to keep my sanity during some very bleak moments.

This time around I'm giving us all a break and creating a wall hanging that will be much smaller and finish up much faster. I've named it "Summer Garden". Before adding borders, the finished quilt as planned will only be 22" x 26", and it will be completed this May. There are ten blocks altogether, but some of them are so quick and simple that I'm publishing them in pairs.

New patterns will come out at the first of every month. Some months I'll publish one block, other months a pair of blocks. January's pair of blocks is free, and the four upcoming monthly patterns will be priced at $2.00 each.

I'm working with scraps again. Not only am I trying to use my stash, but I really do like the scrappy look.

I hope you can tell that I'm using my favorite white background again. I can't seem to get the whites to look white in my photos. They always come out gray. If you know how I can achieve whiter whites with my little point-and-shoot please send me your advice. Doesn't this remind you of those commercials for laundry detergents and bleach? Yes, please. Tell me how to "Get whiter whites and brighter brights in one easy step".

One of these days I'll step out of the white background comfort zone and solve the photograph problem, but not quite yet. I like white.

But, on to the pattern ...

These are the January blocks. Each of these first four finishes to 4" x 4".


This is how the first four blocks fit into the quilt layout.


Did you notice the mystery 5" x 5" block? Five inches square isn't very large, but right now it's just a big question mark.  What on earth should I do to fill it? I love this layout, but I honestly don't know what else the quilt needs. Garden gloves? Lady bugs? A big blossom? A watering can? Please help me come up with the perfect idea! Suggestions would be so very welcome!

For now my layout features one-inch sashings, but that could change. I'm considering two-inch pieced sashings as well. I'm not quite ready to limit my options. If I were to enlarge the sashings the quilt would grow to 26" x 31" and a border would still have to be added. I wonder if pieced sashings would clutter it up too much. Thank goodness there's plenty of time to decide before we have to put it all together.

Starting tomorrow I'll be working on sketches and choosing scraps for February's pattern.
Look for birds and a spade next month.


Wishing you a super-duper, extra special weekend!!

And, don't forget to send in ideas for the empty five-inch square!


Thursday, January 8, 2015

Alphabet Soup for Quilting

I made a set of alphabet templates last summer, but it was only after Christmas that I found time to stitch them into some sample projects. The alphabet is sized to be just right for fitting a one or two word phrase on a mug rug, but there are other projects on which  a quilter might want to use lettering.

Letters are another a fabulous way to use scraps, and using scraps fits right into my goal of trying to buy less and use more of my fabric stash this year. I'm a happy camper today.


Just a few ideas for using lettering in quilting:

Mug rugs instead of cards: I've always liked the idea of using mug rugs as a replacement for those expensive commercial throw away cards with their canned messages. I wouldn't go through this much trouble for everyone, but I would definitely do so for special friends. It really helps that mug rugs come in many, many sizes. If the words don't fit the mug rug you can enlarge or shrink the mug rug to fit the words.

I love the flexibility of words, too. A person can be so creative in how they are used. Each project becomes something totally unique and original. Whatever you make won't look like someone else's project, and I really, truly like that aspect! It's the very reason I refuse to buy kits. I don't want to make anything that's absolutely identical to something another person has made.

What can you say in a mug rug card in only one or two words? This is only the tip of the iceberg.

  • Thank you
  • Welcome Home
  • Love
  • Best Friends
  • BFF
  • Get Well
  • Good Luck
  • Graduate
  • Wedding Bells
  • It's a Boy!
  • It's a Girl!
  • Congratulations
  • Way to Go!
  • Proud of You
  • I Miss You
  • Mom
  • Dad
  • Love My Sister
  • Keep Smiling


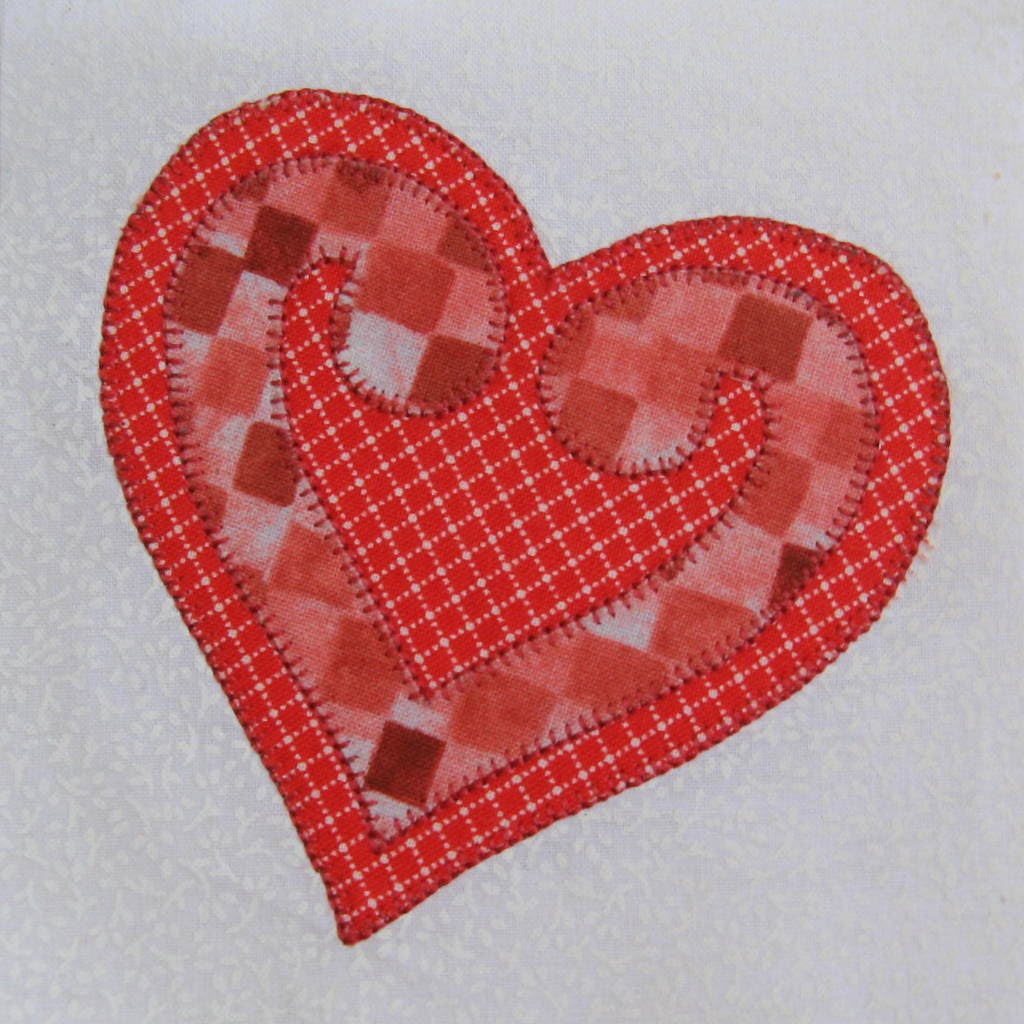
I began my samples with a keepsake thank you card to have on hand. Just in case. You never know when you might need to give a heartfelt "thank you" to someone near and dear. It needed a bit of something else to fill in and add balance, so I made templates for a couple of flowers and a heart to go along with the letters.


I was really pleased with this first mug rug! I was on a roll, so I made a couple of personalized mug rugs for the desks of my daughter's friends. They are so different from each other and I know her office buddies will be surprised and pleased. I'll have to make a lot more name mug rugs as time permits.


Look how different all of these projects are from one another. They use letters from the same alphabet and they contain the same flowers and heart shapes, but because of length of words, the way the letters fit on the mug rug, different fabrics, and little touches, each one of these is absolutely unique. 

On two mug rugs I used contrasting thread for outlining the letters, but I used matching thread on one. The flower in the thank you project has a contrasting center, but the centers of the flowers in the other mugs are made with spiral machine stitching.

The letters on one mug rug were made with charm square solids and they looked a bit plain. Judy is a short name, so I used only upper case letters to fill more space, but the larger letters gave me an opportunity to dress them up with embroidered running stitches. 


Ideas for using lettering are popping my head one after another! I'll need to make more little picture templates to fit some of these thoughts very soon. Flowers and hearts aren't right for everything or for everyone.

Signs! Anything can be labeled.

This is just a starter list.
  • My Sewing Room
  • Jacob's Room (substitute any name)
  • The Boss (That could be a cute mug rug, too.)
  • Do Not Disturb
  • Welcome
  •  Chores, or To Do (Great on a bulletin board.) 

Quilts.

There is no end to words you might add to quilts. You could personalize a baby quilt, put a title at the top or along the side of a quilt, or add a word or phrase in one of the blocks. If the letters are too small they can easily be enlarged to fit onto a bigger project. 

You needn't stop with my alphabet templates. There are many sets of letters of different styles to be found if you look for them. 

Happy Stitching!!