The Cutting Template
First things first - the pattern for the mitt, itself. You could buy a pattern, or you could use the pattern that comes with each package of Insul-Brite. If you do use the Insul-Brite pattern, be sure to add at least at least 1/2" beyond the marked stitching line for seam allowance. That pattern has terribly narrow seams that simply won't work when you are sewing through so many layers.
I much prefer drawing my own pattern to using something else. For one thing, I have rather short fingers, so many of the oven mitts found in stores are too large for me. If you have an old oven mitt that's a good fit, your pattern practically makes itself.
This is how I drew the template this time.
I first taped two pieces of cardstock together to make a sheet large enough for the outline of the mitt. Plain paper would also work, but I wanted something I could cut out and draw around easily and something that I could keep in a file for a long time.
Then I traced around an old mitt that is a really good fit. I added 1/2" around the tracing to make a seam allowance and I drew the cutting line. As I sketched, I smoothed out those funny edges that old mitts acquire.
 |
Now that the pattern was ready, I could focus on making the quilted pieces.
Materials and cutting
Materials for each oven mitt:
* Insul-Bright - 2 pieces 9 1/2" x 14"
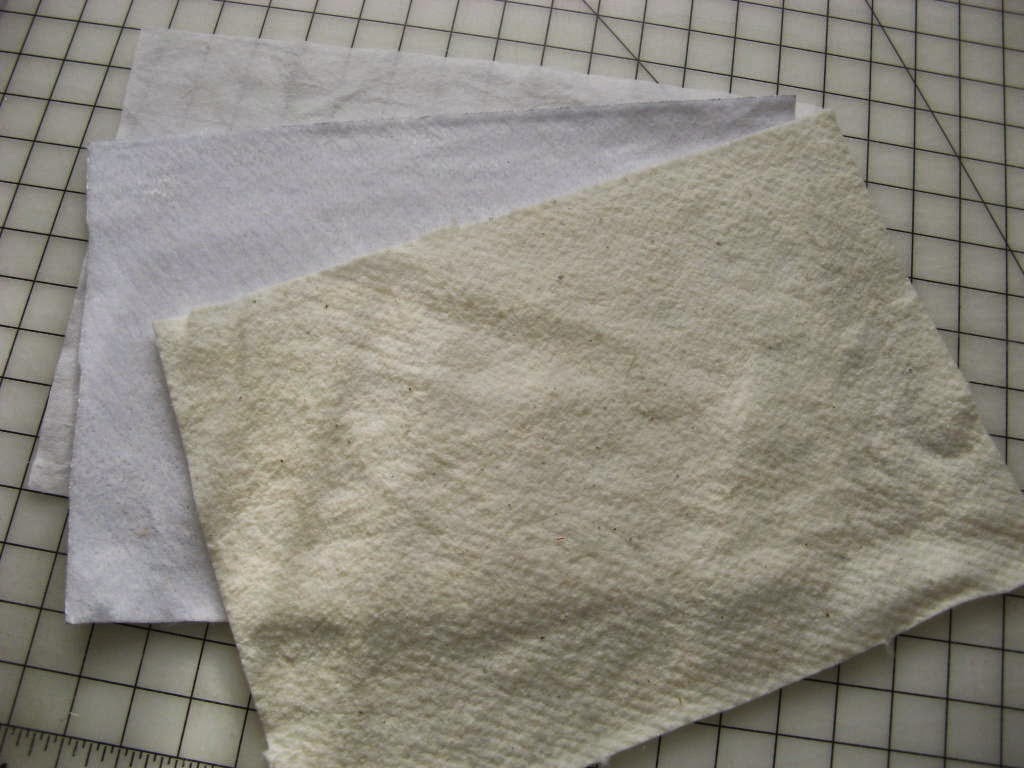
Cotton batting such as Warm and Natural - 2 pieces 9 1/2" x 14"
Backing fabric - 2 pieces 9 1/2" x 14" (I used thin muslin.)
From mixed scraps
- one 7 1/2" square
- one 8" square
- one 9" square
- sixteen strips, 1 1/2" x 7 1/2"
- one strip, 1 1/2" x 6 1/2" for the loop
- one strip, 1 3/4" x 15" - 16" for the binding (The length of this strip may vary depending on the measurement around the top of the oven mitt. If you prefer, you could use double fold bias tape to finish the top of the mitt.)
*Note: Two layers of cotton batting can be used instead of a single layer of batting and a layer of Insul-Bright. This is the way I used to make all of my oven mitts. They are fine for most purposes, but the Insul-Bright does add extra insulation from heat.
Stack the backing, Insul-Bright, and batting in that order to make two quilt sandwiches, one for either side of the oven mitt.
Cut out the fabrics. Cut each of the three squares in half diagonally to make half square triangles.
Make the quilt as you go quilt sandwich for the oven mitt.
1. Lay the widest side of a triangle cut from the 7 1/2" square right side up at the center top of the batting of the one of the two layered quilt sandwiches.
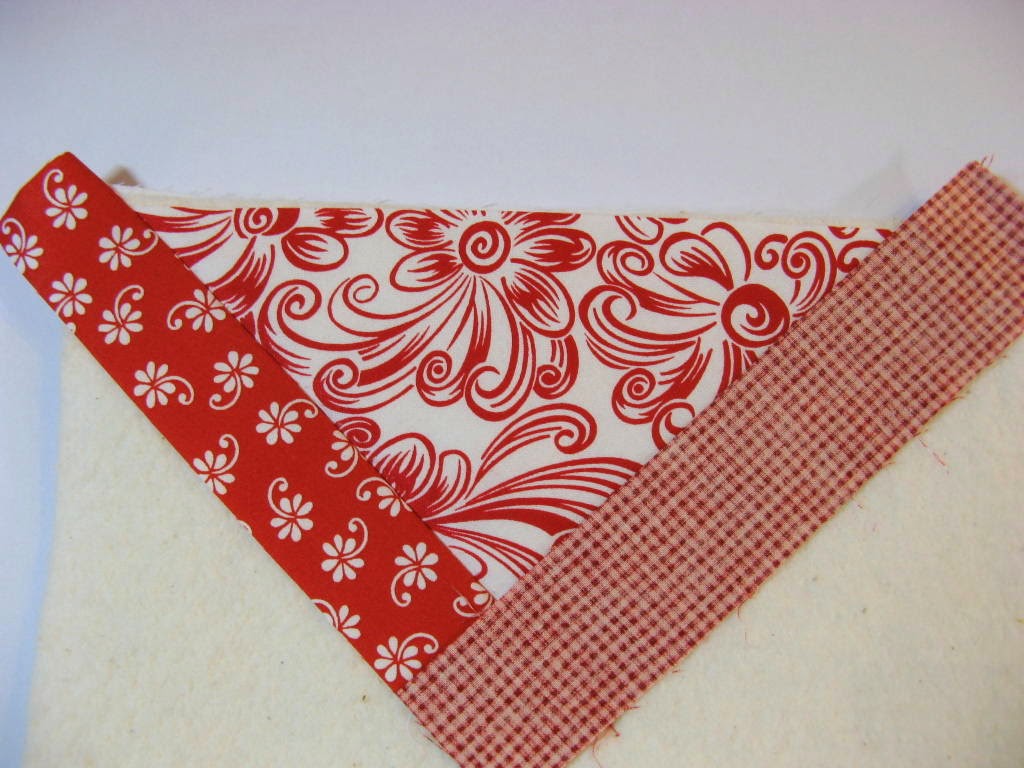
2. Lay one of the 1 1/2" x 7 1/2" right sides together against either short side of the triangle. Line the edge of the strip up with the square angle of the triangle. Stitch along the length of the strip with a 1/4" seam
3. Fold the strip out and press. Lay another strip along the other side of the triangle right sides together. Again, line the end of the strip up with the corner of the triangle. Stitch, fold, and press as before.
6. Lay a short leg of a triangle from the 8" square as if it were another strip. Align the right angle of the triangle with the right angles created by the alternating strips. Stitch along this edge with a 1/4" seam.
 |
| My seams must not all have been exactly 1/4" because the strips were getting a little out of alignment. I made a minor adjustment with the triangle to line everything up again. |
8. A triangle from the 9" square is sewn on last. Lay the bias edge of the triangle over the last strip and sew with a 1/4"seam.
10. The quilt sandwich for one side of the oven mitt is finished. Make the sandwich for the other side of the mitt in exactly the same way.
Construction of the mitts
1. Use your oven mitt pattern to cut one side of the mug rug from one of the quilt sandwiches. Flip the pattern over and cut the other side of the oven mitt from the second quilt sandwich.
2. Mark the dot for the "v" on the lining of both pieces of the oven mitt.
3. Place the two sections right sides together and pin from the outer wrist to the center of the finger section. Stitch around this portion of the mitt only. Sew with a 3/8" seam allowance.
4. Trim close to the seam from the top of the wrist to about 1" down. Reinforce that seam with a machine zigzag stitch. Here I go using my good old blanket stitch again. I do like the clean edge created by this stitch.
5. Make the binding for the the top of the oven mitt. Fold the oven mitt open and measure the top. Measure the top of the wrist. Cut the 1 3/4" wide strip about 1/2" longer than that measurement.
Note: If you are going to use ready made seam binding, cut it about 1/2" longer than the distance across the top of the wrist and sew it in place.
6. Press one edge of the binding strip over 1/4".
7. Pin the right side of the raw edge of this strip to the wrong side of top of the oven mitt.
 |
| The right side of the binding is facing the wrong side of the oven mitt. |
8. Sew with a 1/4" seam. Fold the binding over the front of the oven mitt and attach it to the right side of the mitt with a top stitch close to the edge of the binding.
9. Make the loop for hanging the oven mitt from the 1 1/2" x 6 1/2" strip of fabric.
Top stitch close to the edge of the fold.
9. Fold the loop in half. Place it about an inch down from the wrist opening on the right side of one section of the thumb side of the mitt. Make sure the loop points up at an angle. Pin it in place and stay stitch it very close to the side edge of the raw seam.
10. Pin the two halves of the oven mitt together, taking care that all edges are lined up. Sew the rest of the way around the mitt. Reinforce the "v" with one or two extra rows of stitching.
13. Turn the mitt right side out, press smooth, and you are finished!
Wishing you a super week!


Great tut!! THX
ReplyDeleteYou're welcome. So glad you like it.
DeleteReally beautiful mits. Thank you very much for all your efforts in creating this tutorial ;)
ReplyDeleteYou're very welcome. So glad you like them.
Delete