
My daughter and I have joined together to send gifts for all of the relatives who will be hosting this 18-year-old who's never been on an airplane and never traveled far from Nebraska. I've made totes for the ladies, my daughter has crocheted darling little outfits for the little girls, aged one and two and a half. The guys, my nephew and the 12-year-old get Nebraska Husker gear.
Here's the tote for my sister-in-law.

And the one for her daughter-in-law. Could I call her my niece-in-law? That would be so much easier than anything else I can think of.

Both bags are made from medium weight upholstery fabric to give them endurance. I used Stiff Stuff for the interfacings. It's a good weight that adds body to the bags and helps them retain their shape. The black bag looks larger than the gray one, but aside from the scoop taken out of the front on the black, they are identical in size. The ties on the gray bag pull the sides in and make the bag look narrower.
Once again, I had fun with the details.
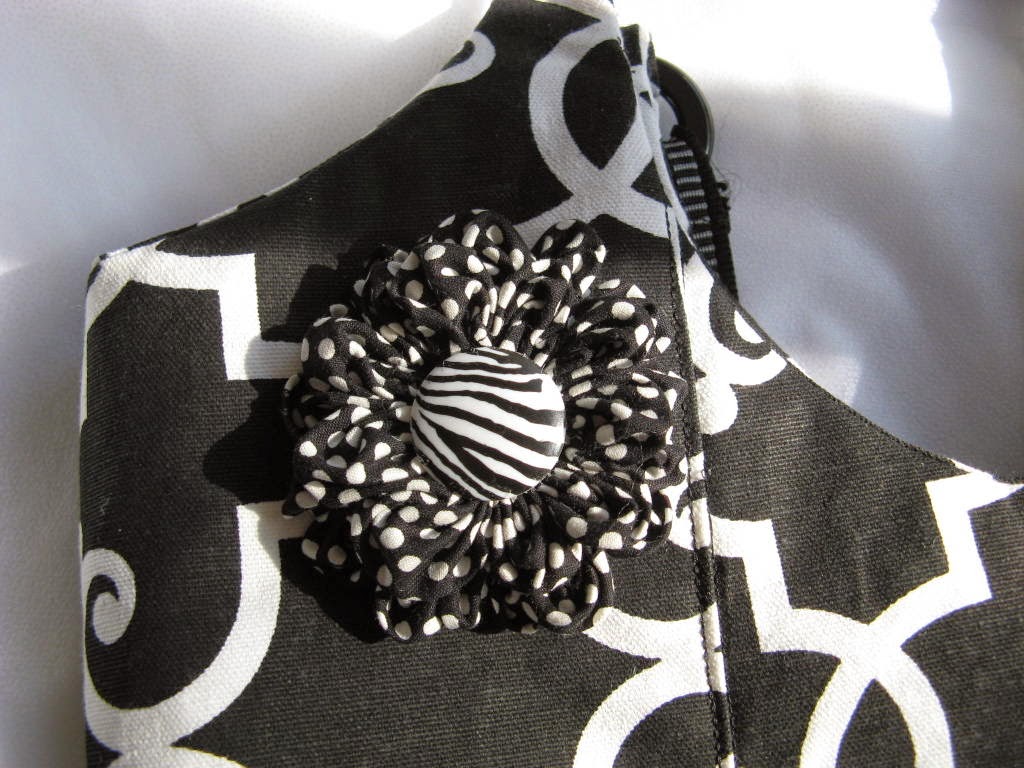
First off, I learned how to make a ruched flower from a tutorial on Pinterest. I LOVE Pinterest! It took me two tries to figure it out, but in the end it turned out just fine. I just happened to have the button lying in my button box. Wasn't that a lucky find?
The top-stitched straps and the side ties on the gray give it a tailored look. Matching up the pattern of the pocket and the body of the bag also help with the tailored appearance.

I inserted my favorite lining in both bags. A zipper on one side, pleated pockets on the other side.
 |
| In this photo you can see how deep the side folds are. They bag can be widened easily by loosening the ties. |
The pattern for the black tote was an absolute nightmare to design and get right. It has those angled side panels that didn't want to fit well on the scooped front. I won't show you that pattern, but the pattern for the gray is the simplest box design possible and the shape I used for most of my purses and totes.
This body shape is so versatile! With just a few little changes in pockets, closures, and details, dozens of totally different designs can be made. This one measures 15" wide at the base, 13" high and 5" deep. That's a good size for a tote, larger than I like my purses, but not gigantic.
The straps are 1 1/4" wide, and the pocket and side ties are stitched into the straps. Sorry, I forgot to show the side ties in the sketch below. They are 1/2" wide and 15" long. I lined them up with the top of the pocket.The straps that are attached to the body of the bag are 1 3/4" longer than the bag itself to allow enough length to fold them under twice and sew them to the rectangular rings.


Next week I need to get back on track with finishing up the name mug rugs for my daughter's office mates and working out the next pair of blocks for the garden quilt-along.
The sun is shining, temperatures are climbing, and the snow has all melted!!
I hope the days are beautiful, wherever you are.
Have a beautiful week, everyone!