Saturday, March 19, 2016

The Splendid Sampler Gallery, Something New, and Watson

Something New
For several weeks I've been trying to find time to make a new purse, and I finally feel caught up enough to start. The fabrics will be leftover from the "Kitty Craft" quilt along. They are such pretty fabrics, and it only makes sense to use those instead of buying something new. 

So far I've only decided on how to make the front pocket. I'm placing three hexagons on it. This will definitely be a design-as-I-go bag. It's my mystery quilt bag.


The Splendid Sampler Gallery

I love the variety in the Splendid Sampler blocks! Each one is so different from every other that has come along. Most of all, I relish learning new tricks and struggling with new challenges. We all have our specialties, but we only grow through accepting challenges that take us beyond our comfort zones.
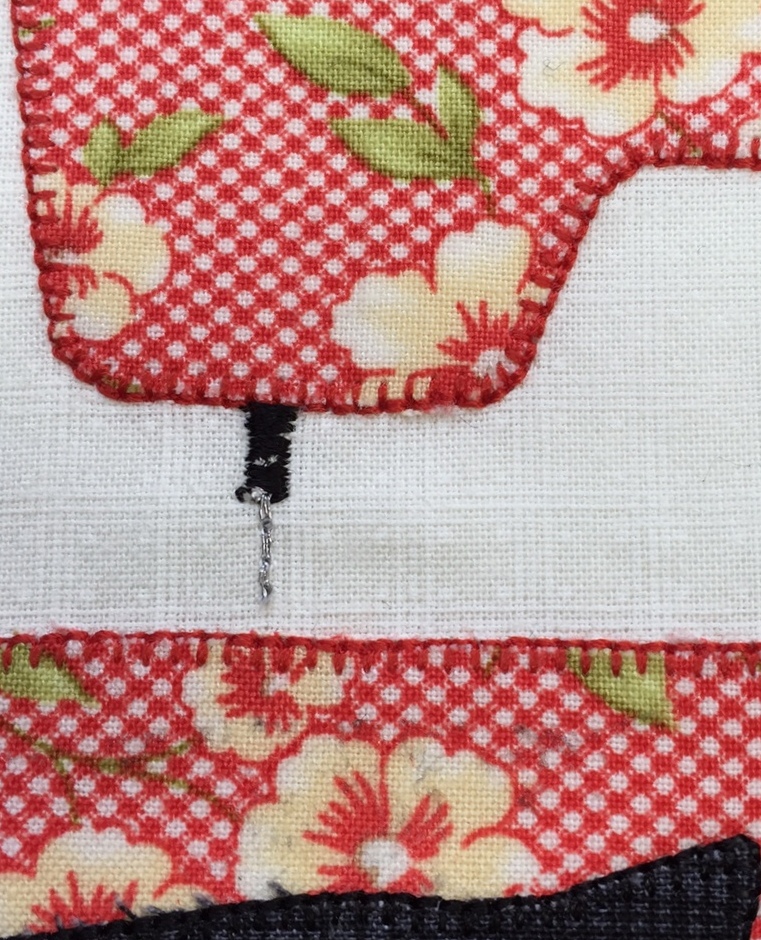
Block 9, "Local Quilt Shop"
 Blocks 9 and 10 were given to us this week. Block 9  is one of my very favorites so far. I have such a weakness for quilted houses!
 
I'm not sure that I like my interpretation of the block. In fact, I'm pretty sure that I don't care for it at all. It much too busy for my taste, so I will quite likely remake it. That's at least the fourth one to land onto my list of blocks to redo so far. At this rate, if I actually do remake those less than happy blocks, I'll have two quilts and one will be made of all the discards. 

Block 10, "Iowa" with Block 9

Block 10 looks so easy, and it would have been quick and slick if I hadn't go myself all in a muddle with it. As it was, my seam ripper got a great workout. All's well that ends well, but I do hate wasted time.

Your Blocks

Keeping up with the pace of the blocks isn't easy. Lives fill up with other things, and we often need to slow down.

Marge Colleran
Marge has sent a photo for Blocks 5 & 6. They are perfectly precise! She's stitching these blocks at a pace that's comfortable for her, and that's just the way it should be!

Dixie has also slowed down a bit on The Splendid Sampler, but her sewing machine is getting a real workout! Look what she has been doing these past two weeks! A bargello quilt workshop and nine spring mug rugs!! Quite enough, don't you think?


This next week may the one that slows me down. I know I won't get Sunday's Splendid Sampler made on Sunday because I'll be hosting a meal for my family. That includes the newest member, whom I've yet to meet.

 Watson, my daughter's new baby.

Watson, there's a strip of bacon waiting for you at my house! Shhh...

Happy First Day of Spring!!


Tuesday, March 15, 2016

Cat In the Sewing Room, & the Hazards of Piecing Stars

Block 3

There's only one appliqued block to go on this little quilt, and the kitty has finally found the sewing room!


I've wanted to make this block from the very start. In fact, the idea of a cat in the sewing room was what got the whole idea for this little quilt going. I just couldn't figure out quite how to make it all fit. I envisioned the cat playing with the sewing machine or sitting on the sewing machine, but I couldn't translate that vision onto a 12" square. When I realized that I had to place the sewing machine in the background, the block came together.

I really enjoyed adding the extra details in this block. The scissors have that little French knot for a screw, and I used my machine's triple stitch to wrap the thread on the spools. I used that same triple stitch for the pins and the sewing machine needle, too. Hand embroidery would have worked just fine, but I've been enjoying this stitch a lot since I discovered it. I'll have to go back to the first block with the yarn basket and use this stitch to show the yarn wrapped on the balls, too.

The triple stitch on my machine.
 My very own, very ancient pincushion served as the model this time. The strawberry needle sharpener was lost long ago.
I'm not sure how I feel about the metallic thread used for the sewing machine needle. It Does it show up enough? 


I almost took this little bump out of the scissors handle. Now, it's nagging at me and I may yet remove and replace that one blanket stitch. Am I being too much of a perfectionist?

 
Pieced friendship stars two ways.

The friendship stars can be confusing! I made the first one with traditional piecing, then went on to make one with the paper pieced pattern. Look what happened! I got the half square triangle patches backwards when I pieced it the old fashioned way, and that one little patch on the upper right is a tiny bit shorter that it should be.  Paper piecing works so much better for me, and it's at least twice as fast.


Spring officially arrives this weekend. My neighbors daffodils are blooming early this year, and I need a new purse. I think the next week of sewing is planned out.


Wishing you a happy start to spring!

Sunday, March 13, 2016

D.I.Y. Small Table Top Ironing Board


My sewing room is so crowded! All of the necessary equipment doesn't even begin to fit conveniently into the size and configuration of my sewing space. As it's set up now, I have to walk around a table attached to one side of my sewing machine to get to the ironing board. It's usually not too much of a headache, and it does get me on my feet and out of my chair now and then.

Lately, though, I've been doing lots of paper piecing, and bouncing up to trot around the sewing table every few minutes is slowing everything down. I have a little cutting mat on the sewing table, but I really needed a small ironing board. So, I made one.

I started with an old wooden cutting board that was never used any more, but was taking up storage space in my kitchen.


I gathered the following items:
  • One old cutting board. Any piece of wood of a convenient size will do. Mine is 12" x 16". 
  • One piece of cotton batting about 3 inches wider and 3 inches longer that the top of the cutting board.
  • One piece of cotton fabric about 3 inches wider and 3 inches longer than the batting.
  • A roll of fabric fuse.
  • An iron.  
  • A stapler 

This is the procedure:

 1. Measure and cut the batting and the cotton fabric. Center the batting on the wrong side of the fabric.
 2. Fold the sides of the cotton over the batting and fuse in place with a hot iron to cover the edges of the batting.

4. Stand the cutting board on edge. With the batting facing the cutting board, pull one side of the fabric covered batting over the edge of the board and staple in place with a few staples. Flip the board to the opposite edge. Pull the batting snugly around and over this edge and staple.

My new paper piecing station is finished!