This has been a rather odd week in my sewing room. I've made no progress on the fat quarter quilt. It hangs on my design wall as it was. I will definitely finish it this next week. No excuses, really. Other things simply took priority. Like choosing fabrics for the few projects I managed to finish. Why does it take me so long to pick out the fabrics for everything?
There was a small bit of progress on the name mug rugs for my daughter's office pals. Two new ones are completed. These two ladies have pets. One of them has a dog, and the other has two dogs and a cat. You can guess which has which.
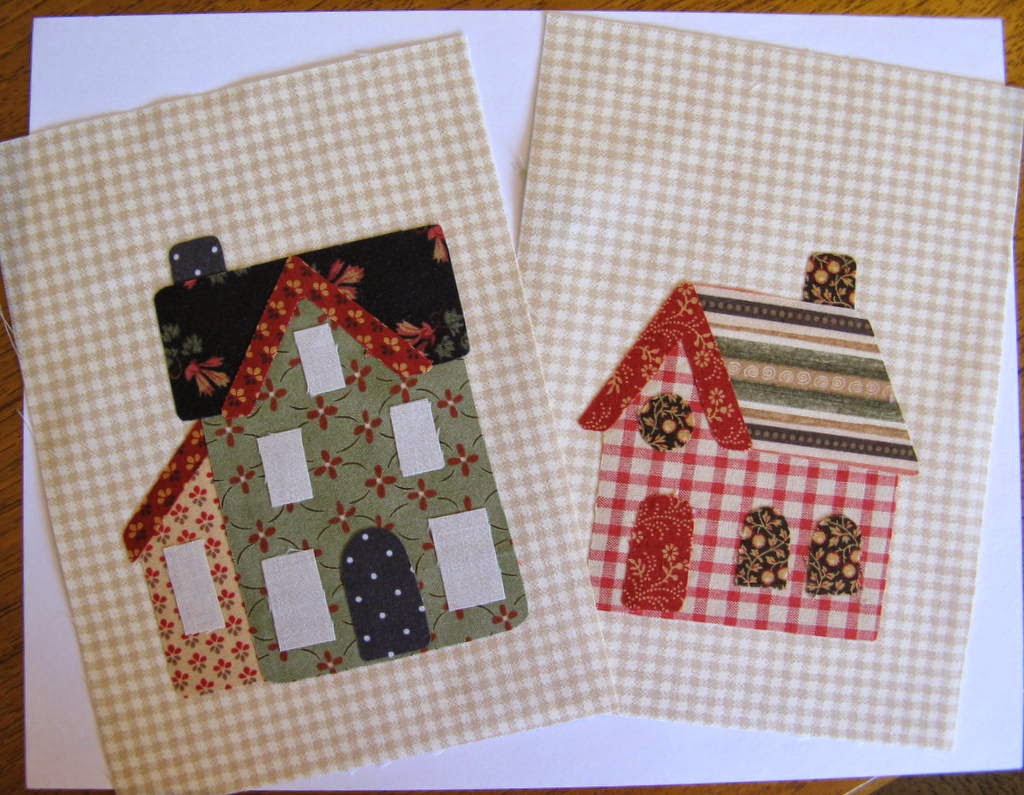
One new house block has been fused too, so now there are three in that group. I don't know why, but these house blocks make me so happy. Now I have a little red schoolhouse. The red really isn't that bright! My camera does some very strange things with colors at times.
The Detour
I've been doing a lot of cooking lately and my aprons are looking pretty pathetic. Nothing to do but make a new one. I want something really simple, but with a wide vintage neck going around the back instead of a narrow strap. Time for a new pattern. Something like this, I think, with a separate upper bodice, two fabrics, and rickrack trim for a real vintage look.
 |
| My Vintage Apron Design |
So far, I only have the pattern for the bodice and neck piece finished. That's the hardest part. I'm sharing the process just in case you'd like to join me in this project and make your own apron pattern. If you're interested, let me know.
I'm starting the pattern with a cheat. Yup. Designers sometimes cheat. Sorry about that. The bodice piece with the attached back neck section can be a bit tricky. So here goes.
Step 1. The cheat.
Getting the curve on the shoulder and the back neckline to lie smoothly is probably the most difficult part of making the pattern. I really don't have to reinvent it all from scratch if I borrow a front and a back bodice from an old dress pattern for this step. I chose a pattern with a high neck because I don't want the back strap to droop too low.
Step 2. Lay out the bodice pieces and place tissue paper on top of them. Trace the neck and shoulders of the front and back onto tissue paper. End of cheat. Return the pattern pieces to the envelope.
Step 3. Take some measurements on yourself.
A. Inner top of shoulder down to the depth of the neck scoop.
B. Distance from neck scoop to the bottom of the bodice section.
C. Center of the shoulder to the bottom of the bodice section.
D. Distance across the bottom of the bodice section. That measurement will be divided in half to make the pattern.
Step 4. Measure and draw the front neckline scoop.
Draw a line straight down from the inner neck using measurement A, the distance from the inner shoulder to the scoop. Then draw a line perpendicular to that going to the center fold line. Now you need a nice, half circle to make the scoop. I found that a plastic pot liner was exactly the right size.
Step 5. Measure and draw the rest of the front bodice section.
I used 2 1/2" for the width of the strap. (That measurement was missing in the original sketch.) Start at the outside edge of the strap and draw a vertical line using measurement C. Then use 1/2 of measurement D and draw a perpendicular line for the bottom width.
(I hope this is all making sense!)
 |
| I'm 5'3", so my measurements match my height. |
Step 6. Combine the front and back patterns into one piece.
Lay the front and back pattern pieces together overlapping the shoulder seams so the
stitching lines of the original pattern are directly one atop the other. Tape the pieces together and follow the curve of the neckline around the bottom of the back neck piece. Since the shoulder width for my apron will be 2 1/2", I used a ruler and measured exactly 2 1/2 inches from the neckline all the way around to make small marks for curve around the back neckline. Then I connected the marks with a pen.
Step 7. Draw the cutting lines and the center fold of the pattern. I used a fatter black marker for those lines.
I allowed a 5/8" seam allowance around the bottom of the bodice and a 1/4" seam allowance at the neckline. I also added 1 1/4" inch to the back of the neck. I'll need that extra space to make the straps overlap in the back so I can add buttons.
Step 8. Cut the pattern out and check the fit.
This is only an apron, so I didn't need to make a muslin. Instead, I found a mirror and pinned the pattern piece to my sweater. Hmm ... a very small problem. The bodice drooped at the outer bottom corner. I needed to trim it and shape it as if there were a dart there. Without trimming the armhole would gap and everything would hang just a bit funny.
Step 9. Fine tune the pattern.
The dart has been made. I angled a line 5/8" inch up from the outer corner down to meet the bottom of the bodice.
Coming Thursday:
The pattern for the March block for the "Summer Garden" quilt.
Coming next weekend:
The rest of story on designing the apron pattern - if you want it. Please let me know.
Wishing you a nice warm week!


